
HOW TO DRAW ZEBRA PRINT
In this tutorial, you will learn a quick and easy way to draw zebra print for your fashion sketches. Animal prints look gorgeous and the zebra stripes are one of the most stylish patterns on the runway. Follow the steps and enjoy drawing beautiful zebra print dresses, zebra high heels or whatever comes to your imagination!


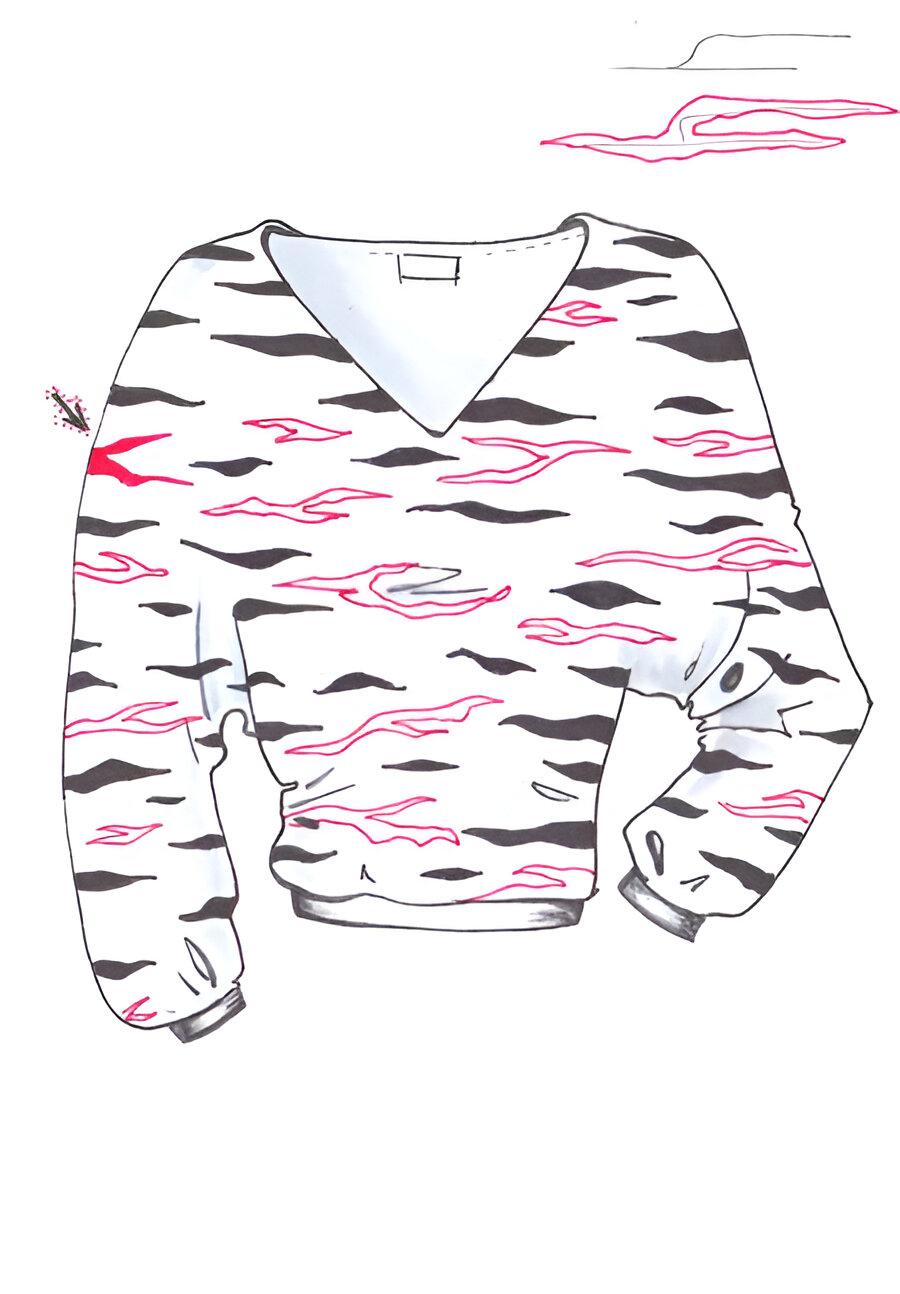
Step 1: The base
Create your own fashion design. Since overcomplicated designs usually don’t go very well with this print, try to keep the clothes clean and simple for now. If you are drawing a zebra print clothes you can make some realistic looking folds in the key places.
THE KEY PLACES WHERE FOLDS ARE MOST VISIBLE ARE: THE ELBOWS, THE WRIST, THE BUST, THE WAIST (NOT ALWAYS), THE CROTCH AREA, THE KNEES AND IF YOU ARE DRAWING PANTS – THE ANKLES AREA.
The key places where folds are most visible are: the elbows, the wrist, the bust, the waist (not always), the crotch area, the knees and if you are drawing pants – the ankles area.

Step 2: Give it some shadows
Grab a grey color to make the garment realistic looking and mark the places where there are some folds. You don’t need to be so perfect with this as the stripes will cover the most of the blouse, but if you skip this step the design may look plain.
Although zebra print is usually drawn in black and white, there may be countless color variations. No matter which color you chose for the background and the stripes, always make sure you have marked with darker color the shadows.

Step 3: First, draw a zebra prints’ stripes
Start drawing the stripes that touch the outline of the blouse.
When drawing the cut stripes remember to vary their thickness and length. Leave uneven spacing between them. Zebra stripes should look naturally spread; not too organized.
When you are done- fill the shapes with black.

Step 4: Shape I
Fill some of the inner sides with short stripes in the form shown below. Play with their outline as much as you want as long as you keep the stripe parallel to all the rest.
Have a close look at how the illustration looks when a stripe happens to be over a fold. It gets distorted: separated into two divergent segments.
Fill the new shapes.

Step 5: Shape II
The second type of stripes you can notice on the beautiful zebra pattern reminds a fork with two spikes. Draw some shapes cut in half at the outline of the garment. Those in the center part should be drawn whole.
Fill with black.
Step 6: Shape III
The last type of zebra stripes is similar to the first one, but it has a hole in the middle. Play with the form of this shape and fill all the empty spaces left on your design.

Now you know how to draw a zebra print, it’s time to get creative and draw some sketches!
Happy drawing!

LATEST POST