
HOW TO DRAW A RIBBON BOW
In this tutorial, I will show you a simple technique on how to draw a bow. A shiny ribbon with a bow in the center can be an amazing touch to your fashion designs – dresses, blouses, and hair accessories. The technique that I’ll show is probably similar to what you already know and use, but it’s the small details and the coloring technique that will make your bow drawing stand out. Shall we start?


Step 1: Draw the bow base
Start with drawing a square with two triangles to its side. Make sure that the triangles are of the same size and that they are not too thin and long, nor too short and bulky.

Step 2: Draw the Bow’s ribbons
The next step is to add the bow’s ribbons. Starting from the square shape, pull two guidelines to make sure you’re happy with the direction. Draw the ribbons and finish with open triangles at the bottom. The guideline will help you to make the open triangles symmetrical, but you can also go for an asymmetric look.
NOTICE THAT THE BOW’S RIBBONS ARE NOT THE SAME WIDTH FROM END TO END. THEY START NARROW AND BECOME WIDER TOWARDS THE ENDS.

Step 3: Transform the knot shape
To make the ribbon knot a little bit more realistic, make the top and bottom of the square wavy. Try to keep your line soft and natural and avoid stiff lines and sharp edges.

Step 4: Transform the ribbon bow
The same goes for the triangles. The outline should be irregular and soft to mimic fabric and not seem stiff.

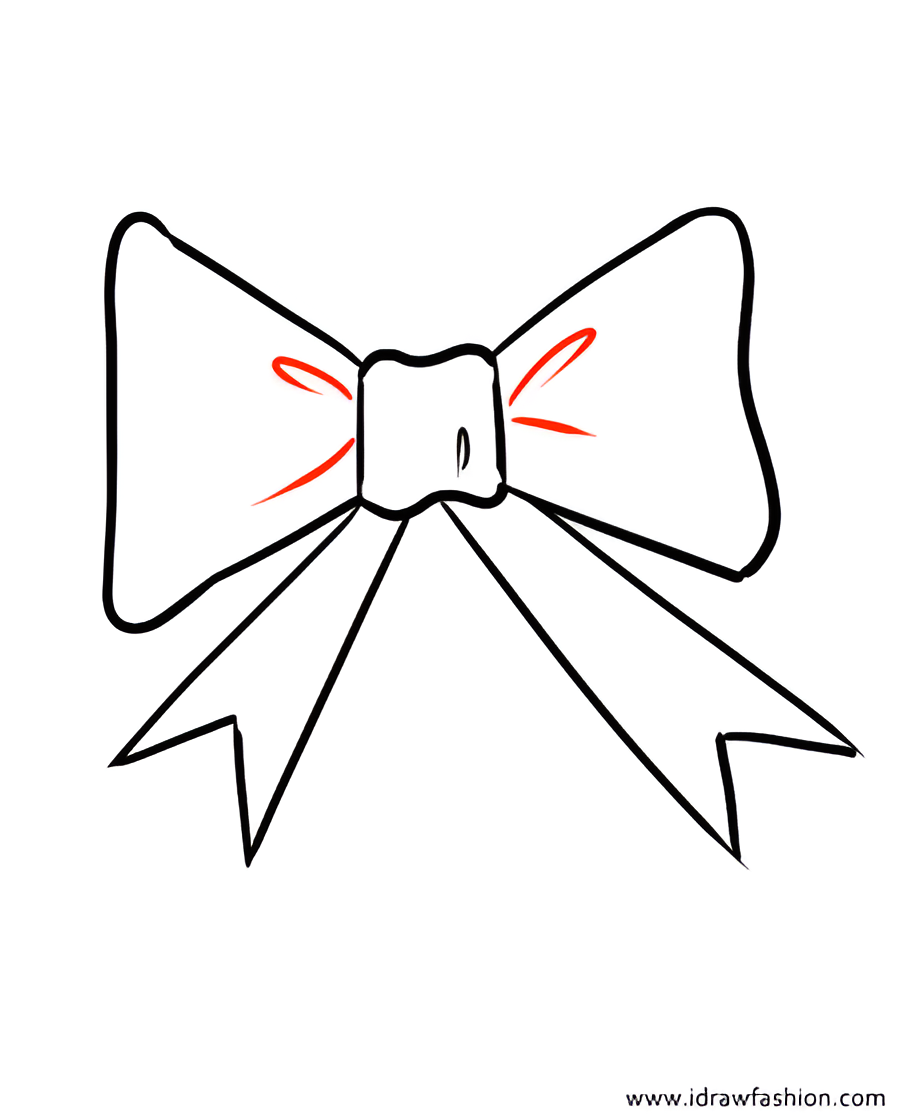
Step 5: Depth
Let’s add some depth to the bow tie by drawing a couple of lines where the triangles and the square meet.
Step 6: Color base
Even if you have the perfect bow drawing, the coloring can ruin everything and make it look flat and boring. Nice shading is as important as a nice line drawing. Start by laying down a flat layer of color all over the bow.

Step 7: Add shadows
Then add some shading between the depth line. Make sure the shadow is not touching the outline and that disappears gradually. Add shading at the beginning of the bow’s ribbons as well.

Step 8: Knot shading
The knot is a different shape and is shaded separately. Cover the bottom half with a shade darker than your base color. Check that the shadow is diagonal instead of horizontal.

Step 9: Add highlight
Highlights are essential. They will make the bow drawing shiny and realistic. Add a lighter color to the center of the bow, around the depth lines and to the outer side of the triangular shapes.

Step 10: Super shiny
The last step is optional, but I like it because it gives this satin effect that I am oftentimes looking for when drawing ribbons. With a very light shade of your base color (or even pure light) draw thin lines in the center of each highlight.

Now you already know how to draw a ribbon bow. I hope you enjoyed this tutorial and that it will help you bring glamour and joy to your fashion drawings. If the tutorial inspired you for a design featuring a beautiful bow, please feel welcome to share your drawing with our community on Facebook. I’d love to see what you’ve done!
Happy drawing!

LATEST POST