
How to draw Cargo pants
Everyone loves to stay in trend. Cargo pants! Well, the best way to stay in trend is here for you. This tutorial will teach you how to draw cargo pants in such fewer steps, isn’t that great! Learn how to make simple cargo pants that will better your game and stay in trend. Also, just by making a few changes in the design, you can get other cargo pants variations. So, Let’s begin!


Step 1: Basic Pants Outline
For this tutorial, I used one of the free fashion croquis available at I Draw Fashion. You can download Figure Template #21 and follow along or draw your own croqui from scratch.
Once you have your figure template ready, you will need to draw the basic pant outline, as shown below.
Draw the pant fitted from the waist, going wide at the bottom. You can keep the same length and wideness as per the tutorial or you could change the dimensions of the pants. This is a guide step that will help you to make the cargo pants in the proper dimension without re-drawing the whole thing again and again. Draw this step lightly or using dash lines.

Step 2: Draw the Cargo Pants silhouette
Draw the cargo pants silhouette by using straight and curved lines. Keep the basic pant outline as the guide to how the cargo pants will go and fall. The hemline will not be straight.
MAKE SURE TO KEEP THE PANTS WIDE FROM THE BOTTOM AS CARGO PANTS ARE NEVER SKINNY FIT.

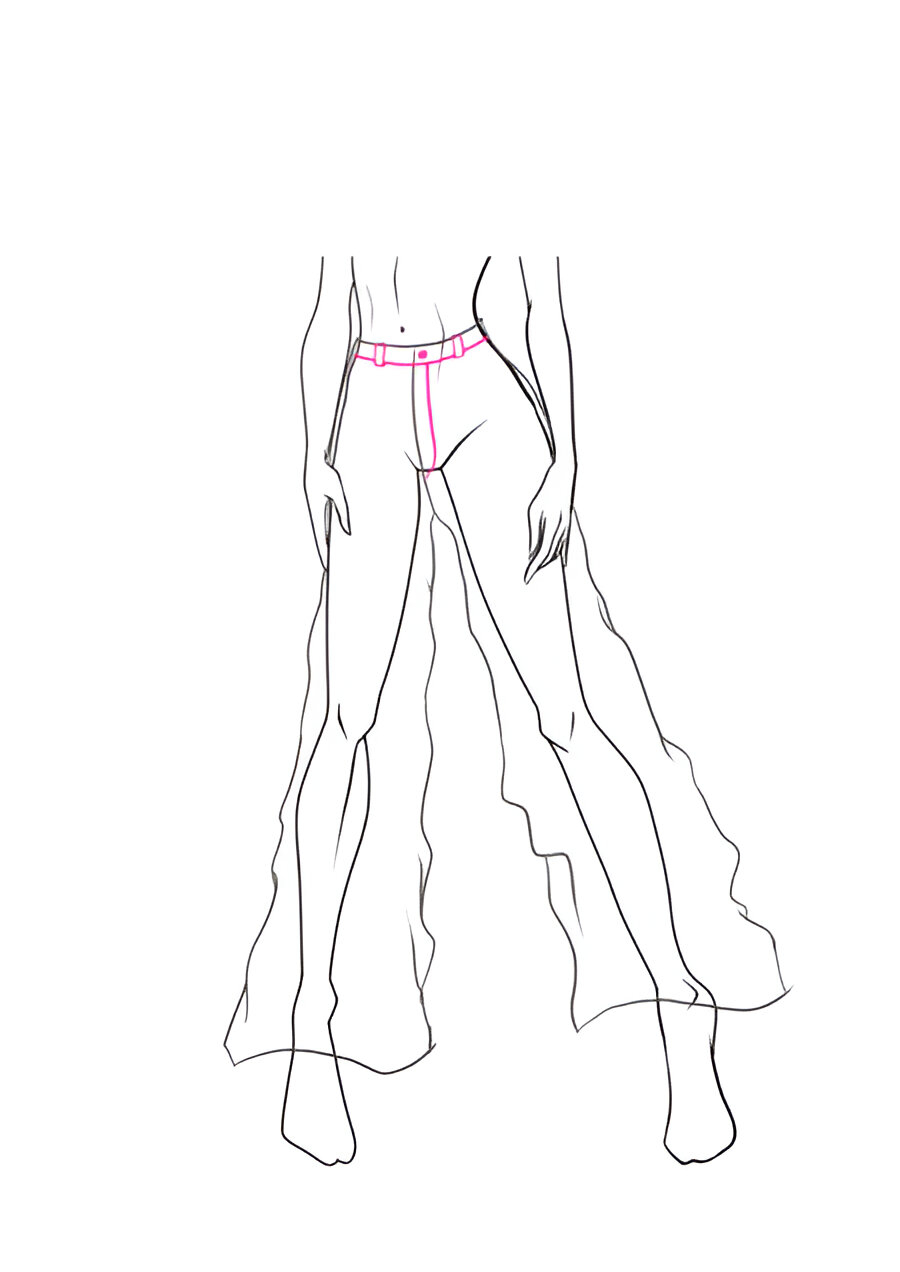
Step 3: Draw the belt and the zipper
Add the belt of the pants and the zipper. The belt can be as thick or as thin as you want it to be or it can be the basic size as shown in the tutorial. Add your belt loops and button at this step.
The zipper flap will always end with the curved line. Make sure that the thickness of the belt is constant and that the loops are of equal size.
Step 4: Draw the pockets
Now the fun part! Adding the pockets.
The upper pockets can be just basic ones or like the ones shown below. The pockets below will be placed just above the knee. Follow the steps given to draw the pockets.
MAKE SURE THAT THE POCKETS THAT ARE DOWN AREN’T FLAT.

Step 5: Add folds
Fabrics always have different falls and folds. This fabric has multiple folds as the amount of fabric used to make cargo pants is more than that of basic pants. Due to this, the cargo pants will not only have folds on them but also the sides and the hem. You will be drawing folds in the pressure points which are the crotch area, below the knees, side seams of the pants, and some on the pockets.

Step 6: Add the stitch lines and seams
It’s almost ready! With this last small step, you will be done with the cargo pants.
Now you have to add the stitch lines on the places that they will be visible. The seam line will be placed on the hem and knee. The stitch line will be placed on the belt, belt loops, zipper, and pockets. Use dash lines to show the stitch lines.
I RECOMMEND YOU TO TAKE A PAIR OF YOUR PANTS AND SEE THE STITCH LINES AND SEAMS FOR REFERENCE.

Step 7: Color the Pants
You can pick any base color of your choice. I used a stone blue color. You will aim to color the pants as flat and as smooth as you can. Do NOT use colored pencils for this step. Markers are the drawing media that will give you a nice flat and smooth surface to work with. I like to color my fashion sketches with Copic markers.

Step 8: Add shadows and highlights
Add shadows and highlights on the folds using colored pencils. Notice that the inside of each fold is darker in color. The highlight is placed around it.

Hopefully, this How to draw Cargo pants tutorial was helpful to you and has inspired you to draw new fashion sketches, to create more innovative designs! You can check our ‘HOW TO DRAW RIPPED JEANS‘ to experiment with drawing different kinds of pants or explore the whole “How To Draw Clothes” section of the website.
Happy drawing!

LATEST POST