
HOW TO DRAW A TUTU SKIRT
In this step-by-step tutorial, you will learn how to draw a tutu skirt in just a few easy to follow steps. You can use any type of media – pencils, markers, watercolors or digital media to draw the transparent fabric of the skirt. What matters is the approach and not so much the tools you are going to use. So get ready and let’s start drawing!


Step 1: Set the length
Start by drawing the waistband and mark how long you want the tutu to be. Notice that both the waistband and the bottom hem are curved. This will add realism and life to your sketch


Step 2: The outlines
Add the skirt outlines connecting the waist to the bottom hem. Make sure your lines are not completely straight. Making them straight would make your illustration stiff. Notice also how the outline pops out close to the waistband to add volume to the skirt.

Step 3: Transform the hemline
Now it’s time to work on the hemline of the tutu and make it more irregular. As it is composed of multiple layers there won’t be much symmetry in the hem. So simply follow the hemline direction and make it uneven.

Step 4: Flat color
Moving on to coloring lay down a flat layer of color with your preferred drawing media. Remember that the technique shown in this tutorial will work with any drawing tools that you feel comfortable using – markers, pencils, tempera or watercolors. This is the part of the skirt where many layers are overlapping so it will not be transparent.

Step 5: Add some shadows
Grab a slightly darker color and draw some lines from the belt down. Notice that not all of them reach the bottom and that they vary in weight. There are a few shorter lines starting from the bottom up. They come in different lengths.
Make sure the final result is not too busy.

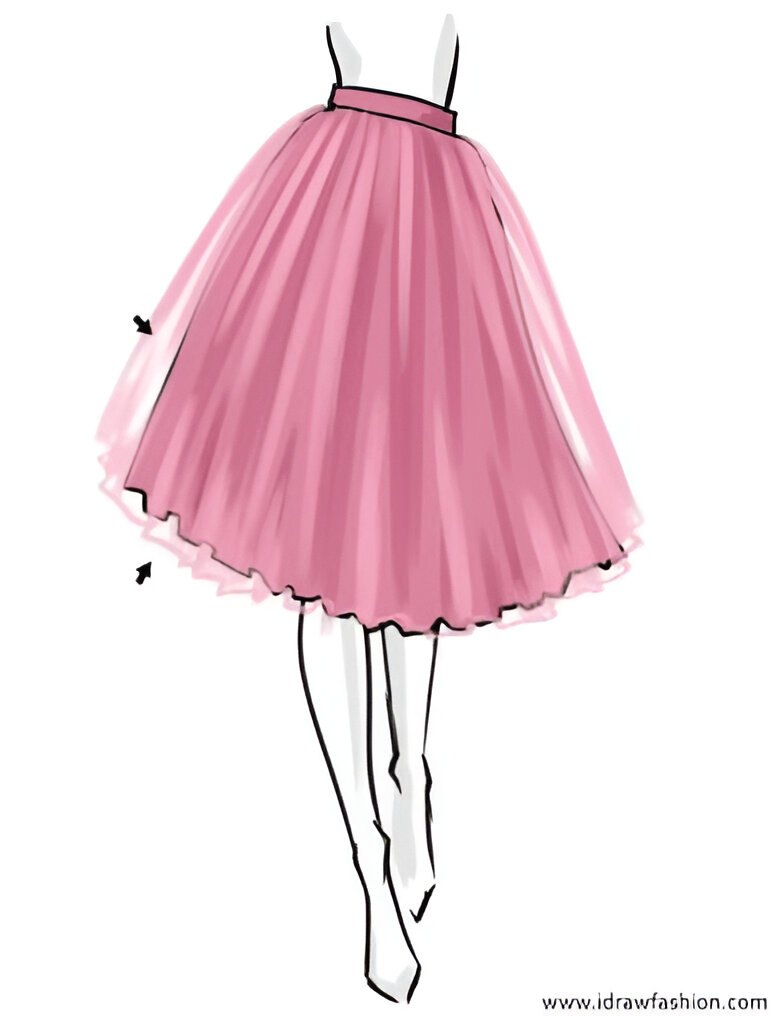
Step 6: The secret is here
To create the illusion of transparency in your fashion sketch is quite easy. Simply get a lighter color than your base and outline the bottom shape. The outline should not be exact. In fact, the more you vary – the better, especially in the bottom hemline.

Step 7: Add the top layer
Using the same lighter color start adding shading very similar to the darker on you did before. Start from the waist down. Then make some lines from the hemline up. Check how there is some blank space left between this new layer and the solid one.
Step 8: Some highlights
To finish the sketch, get a white gel pen or a white pencil and draw a few lines to strengthen the shapes. You don’t want to draw the hemline from end to end. Be picky in this step. Less is more.

I hope you had fun following this tutu skirt tutorial and that you fell in love with your results. Try different colors, different lengths and of course style it with a lovely top and accessories. A tutorial that you might find handy to accessorize the tutu is “How to draw a bow” and I also recommend the “How to draw sunglasses” tutorial and ‘How to draw a corset“.
Happy drawing!

LATEST POST